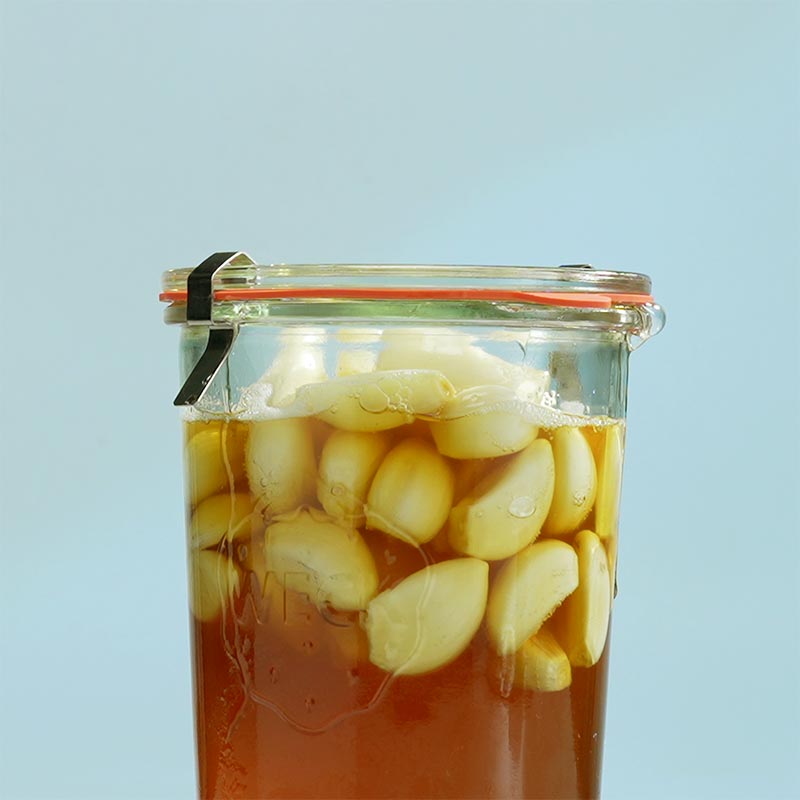
There are always a few jars that live on my kitchen counter all year long. One of them is this honey garlic oxymel: raw garlic, raw honey, and raw vinegar slowly fermenting together into a sweet, tangy, garlicky tonic. It’s simple to make, deeply comforting, and designed with safety in mind.
If you’ve never tried fermenting before, this is a gentle place to start. Below you’ll find why I make my honey garlic as an oxymel (with vinegar), how the fermentation works, the safety basics (pH & water activity), the best ratios, my favorite equipment, and a printable recipe card at the end.
Why I Make Honey Garlic As An Oxymel (With Vinegar)
Traditional “garlic honey” on the internet usually means just two ingredients: garlic + honey. It looks beautiful, but when garlic releases water into the honey, the mixture often becomes less acidic over time. A higher pH is not what we want for safe preservation.
Oxymel is an old preparation used in Greece and Persia: honey + vinegar + herbs (like garlic). Raw vinegar is already safely acidic and full of acid-producing cultures. When we combine garlic, honey, and raw vinegar, we get a tonic that starts out at a safe acidity and stays that way as it ferments.
So in this recipe we make honey garlic as an oxymel, not as plain garlic in honey. It tastes bright and complex, and it gives us a much more predictable safety profile.
Honey Garlic Safety Basics: pH & Water Activity
When people ask “Is honey garlic safe?”, what they’re really asking is: does this environment allow dangerous germs like botulism to grow. Two key ideas from food science help us answer that: acidity (pH) and water activity (aw).
- Clostridium botulinum (the germ that produces botulinum toxin) cannot grow if the pH is 4.6 or lower.
- The CDC states that the aw (activity of water) must be at or above 0.94 for botulism to grow.
Raw honey is naturally very safe from a water-activity perspective: its aw usually falls around 0.5–0.65
If we mix a lot of garlic and extra water into honey, we dilute the sugars and raise aw. If we only add garlic to honey and do not add any acid (like vinegar), the pH can also drift into a zone that certain microbes like.
This recipe solves those two issues together:
- Keep lots of honey – enough sugar to keep overall water activity on the low side.
- Add raw vinegar
For home fermenters, you don’t need to calculate exact aw numbers. The important takeaway is:
And as with all raw honey: never give this to babies under 1 year old.
How Fermentation Works In Honey–Garlic Oxymel
In this recipe, most of the fermentation is driven by the natural microbes living in raw vinegar (or fully fermented kombucha):
- Yeasts and other beneficial microbes feed on the sugars in honey.
- They first transform some of the sugars into small amounts of alcohol.
- Then acetic acid bacteria — the same “good vinegar cultures” that make apple cider vinegar pleasantly sour — convert that alcohol into more organic acids.
The result is a liquid that:
- stays pleasantly sour (pH well below 4.6)
- extracts and preserves the aromatic compounds of garlic
- and becomes a stable tonic you can keep for many months in the fridge.
Ingredients For A Safe Honey Garlic Oxymel
You only need three core ingredients, plus a few optional extras:
- Fresh garlic bulbs – firm, tight skins, no mold, no green sprouts.
- Raw honey – liquid raw honey works best so it can flow around the cloves.
- Raw apple cider vinegar – unpasteurized, “with the mother,” or fully fermented raw kombucha.
Optional flavor additions
- A small fresh chili or 1–2 teaspoons chili flakes
- A few slices of organic lemon
- Fresh thyme or rosemary
Keep these extras light. Garlic, honey, and vinegar should always be the main players.s
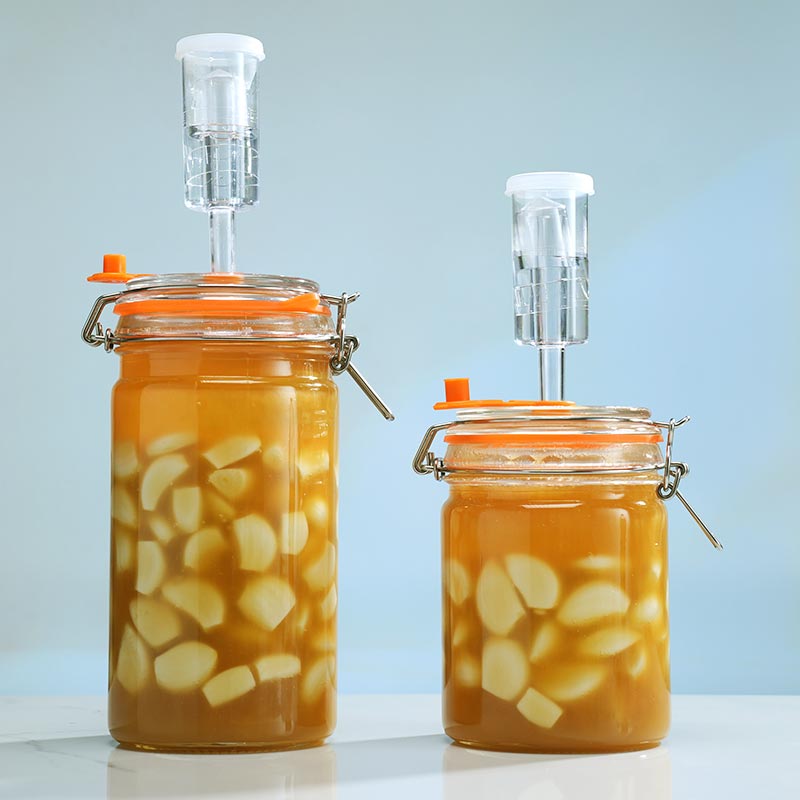
Equipment: Clip-Top Jar With Airlock & Weight
You can technically make this recipe in any clean glass jar with a loose lid. But for regular fermenting, I strongly prefer a clip-top jar with a glass lid, an airlock, and a fermentation weight.
Why this setup?
- Controlled airflow & less explosion risk
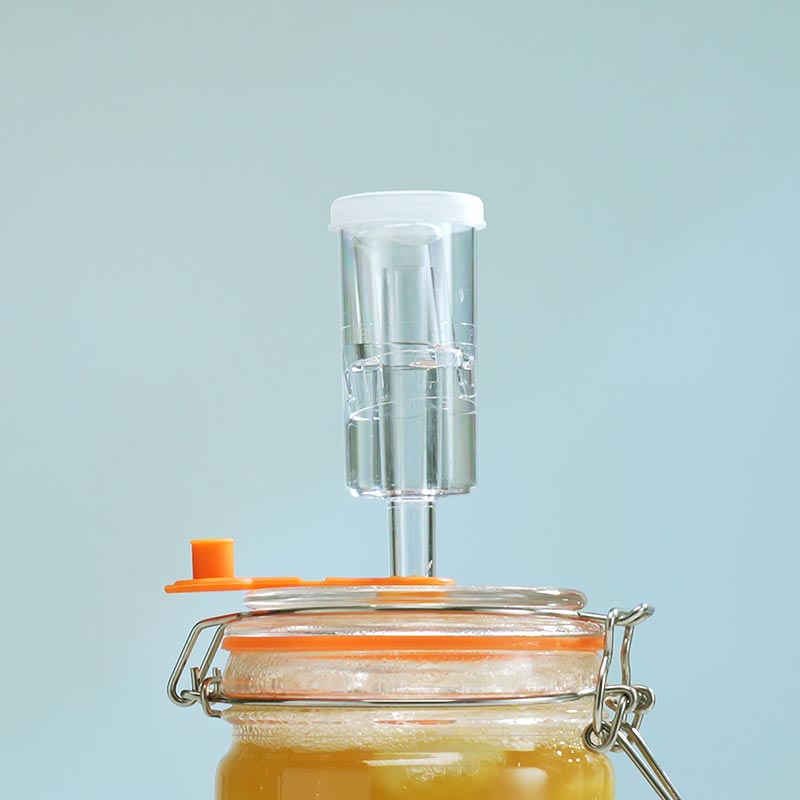
The airlock gives CO₂ a predictable way out. As the oxymel bubbles, gas escapes through the water (or vodka/brandy) in the airlock instead of building pressure in the jar. This dramatically reduces the chance of cracked lids or “exploding jars.” - No daily “burping”
Traditional jars often need to be opened every day to vent gas. With an airlock, the jar releases gas automatically. You don’t need to remember to twist the lid open and closed. - Less smell in your kitchen
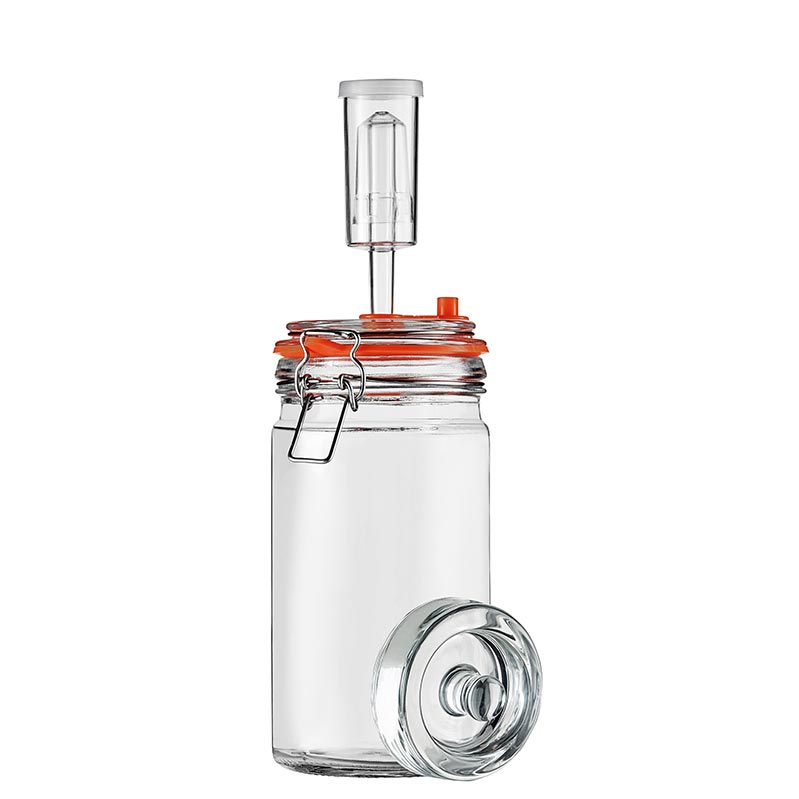
Filling the airlock with a little vodka or brandy helps keep it clean and catches part of the strong garlic aroma before it reaches your kitchen air. - Mold prevention with a weight
A glass or ceramic weight sits on top of the garlic, gently pressing everything under the liquid. Food that stays below the surface is far less likely to grow mold. - Glass lid instead of plastic lids
Screw-on plastic lids are cheap but scratch and absorb smells easily. After a few strong ferments they can smell permanently garlicky. A thick glass lid with a silicone gasket is inert, doesn’t hold onto odors, and gives a stable, even seal around the rim.
Step-By-Step: How To Make Honey Garlic Oxymel
Step 1 – Prep the garlic
Peel all the garlic cloves. Trim off any dry root ends and discard cloves that are soft, moldy, or sprouting.
Step 2 – Pack the jar
Add the peeled cloves to your clean, dry clip-top jar.
Step 3 – Add honey and vinegar
Pour raw honey over the garlic until the cloves are covered. Then pour in raw apple cider vinegar until the jar is nearly full, leaving 2–3 cm of headspace.
Step 4 – Stir and release bubbles
Use a clean chopstick or spoon to stir slowly, making sure honey and vinegar mix together and no big air pockets remain.
Step 5 – Add the weight and airlock
Place the fermentation weight on top of the garlic so everything stays under the liquid. Close the clip-top lid fitted with your airlock. Fill the airlock with water, or with a splash of vodka or brandy.
Step 6 – Ferment at room temperature
You should see bubbles rising and the liquid becoming slightly cloudy as fermentation progresses.
After about 30 days at room temperature, you can move the jar to the fridge.
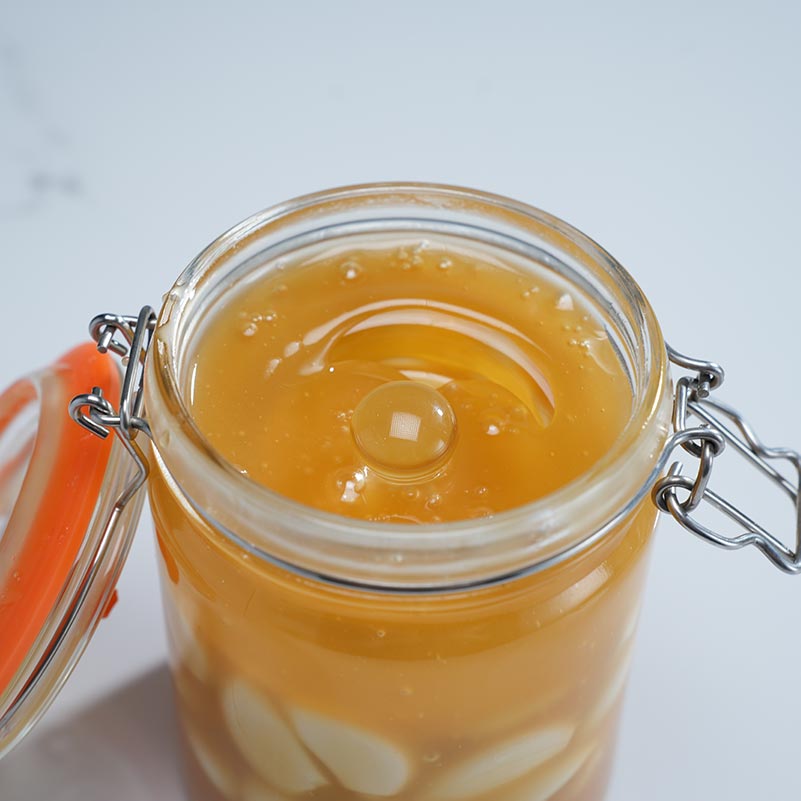
What To Expect As It Ferments
Seeing the transformation is part of the fun. Here’s what is usually normal:
- Texture & thickness – the mixture becomes looser and more syrupy as honey thins out in the vinegar.
- Bubbles – small bubbles appear around the cloves and rise through the liquid.
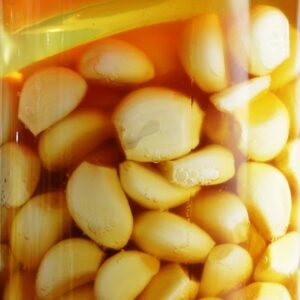
- Color – garlic slowly shifts from bright white to pale gold; the liquid may deepen in color.
- Aroma – the smell moves from sharp raw garlic to a sweet, tangy, garlicky vinegar-honey aroma.
How To Use Your Garlic Honey Oxymel
After 30 days of room-temperature infusing and some time in the fridge, your oxymel is ready to enjoy.
Some favorite ways to use it:
- Take a spoonful of liquid oxymel when you feel a tickle in your throat.
- Eat one garlic clove with a little syrup as a strong, sweet bite.
- Add a tablespoon to warm (not boiling) water or herbal tea for a comforting drink.
- Drizzle over roasted vegetables, roast chicken, or baked salmon as a glaze.
- Combine with olive oil and lemon juice for a garlicky salad dressing.
Start with small amounts and see how your body feels—this is a potent preparation.
Storage, Shelf Life & Safety Checks
- After the first month – keep the jar in the refrigerator to slow down fermentation and protect the bright flavors.
- Shelf life – with clean handling and good acidity, many people keep oxymels for 6–12 months or more in the fridge.
- Always use a clean, dry spoon – introducing moisture or crumbs can invite trouble.
If you have pH strips and enjoy testing, it’s ideal to see a pH below 4.2.
Honey Garlic Oxymel (Fermented Garlic in Honey & Vinegar)
Equipment
- – 1 liter clip-top glass jar with glass lid
- – Water-seal airlock fitted to the lid
- – Glass fermentation weight
Ingredients
- – 250 g peeled garlic cloves (about 1 1/4 cups)
- – 400 g raw honey (about 1 1/8 cups)
- – 120 g raw apple cider vinegar (6% acidity), unpasteurized, with the mother
- Optional safety note: Add extra ACV a little at a time if needed to reach an equilibrium pH ≤ 4.2 (measure with a pH meter/strips after resting).
Instructions
- Peel all the garlic cloves and trim off any dry root ends. Discard any soft, moldy, or sprouting cloves.
- Add the peeled garlic to the clean, dry 1 liter clip-top jar. Aim for the garlic to fill about 1/3–1/2 of the jar by height.
- Pour in the raw honey until the garlic is completely covered.
- Add the raw apple cider vinegar to the jar, leaving about 5cm (2 inch) of headspace at the top.
- Gently tilt and swirl the jar to help the honey and vinegar mix and to release any trapped air bubbles.
- Place the glass fermentation weight on top of the garlic so that all cloves stay submerged under the liquid.
- Close the clip-top lid and attach the water-seal airlock. Fill the airlock with clean water or a splash of vodka or brandy.
- Set the jar in a cool, dark place at room temperature for about 30 days.
- After 30 days, taste the oxymel. When you like the flavor, move the jar to the refrigerator and use as needed.
Notes
– Do not add plain water to this recipe; the only liquids should be raw honey and raw vinegar.
– Keeping the garlic completely submerged under the liquid helps discourage mold.
– If you have pH strips, aim for a pH of 4.2 or lower once fermentation is active.
– As with all products made with raw honey, do not serve this to babies under 1 year old.
– If you ever see fuzzy mold, strange colors, or smell anything rotten, discard the batch and start again.